
Why ±3 °C Oven Uniformity Matters — And Where Coating Defects Come From
Powder does not cure at a temperature; it cures on a time-temperature curve. If one corner of the oven is 15 °C colder than another, one part in the same load is under-cured and another yellows. ±3 °C is the practical limit for that spread — and air circulation, not heater power, is what decides it.
 Enlarge
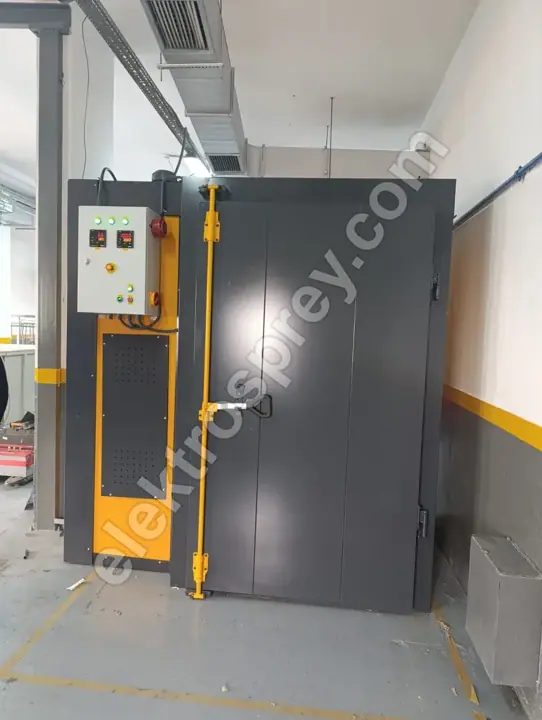
Powder coating cures on a time-temperature curve, not at a single temperature. The powder's technical data sheet does not say "180 °C"; it says something like "10 minutes at 180 °C part metal temperature". That pairing is why the spread between different points inside the oven writes itself straight onto quality: of two parts on the same hanger, the one sitting in a cold zone is under-cured — the film does not fully cross-link, adhesion and impact resistance suffer — while the one in a hot zone is over-cured, and on whites and light tones that shows up as yellowing and loss of gloss. That is why our box type electric ovens are specified at ±3 °C uniformity: it is the practical limit at which no part in the load falls off the curve.
One distinction up front: uniformity is an oven property, but not every defect on the floor comes from the oven. The first job is sending each defect to the right address.
Which defect comes from where?
The table below lists the four defects we see most often and their likely source. A single defect can have more than one address; eliminate them in order.
| Defect | Likely cause | Address |
|---|---|---|
| Orange peel (wavy surface) | Film too thick, powder reaching flow temperature too slowly, low oven temperature | Booth first (film thickness, kV/µA setting), then oven (heat-up rate) |
| Colour shift / yellowing | Over-cure, long dwell in a hot zone, uncontrolled proximity to the burner | Oven — uniformity and profile duration |
| Weak adhesion, film lifting with a fingernail | Under-cure, oil or soil residue, missing phosphate layer | Pre-treatment first, then oven (cold zone) |
| Brittleness, cracking, chipping at edges | Over-cure (the film embrittles), wrong powder-to-substrate match | Oven — hot zone or excessive dwell |
| Part-to-part variation within one load | Temperature distribution and air flow | Oven — uniformity and load placement |
A practical rule for telling them apart: if the defect clusters in one region of the load, it is the oven. If it appears randomly everywhere, look at pre-treatment or the booth. Read this alongside the booth parameters we cover in choosing a powder coating booth.
Part temperature and oven air temperature are not the same thing
This is the most commonly skipped point. The oven's control panel shows the temperature of the air. The powder cures according to the temperature of the metal. A thick part stays colder for a while even after the oven air has reached 180 °C; how long depends on wall thickness, mass and the air velocity hitting its surface.
The correct calculation is:
Total oven time = time for the part to reach target temperature + the cure time on the powder's data sheet + a safety margin
The values below are the typical ranges we work with for steel parts at ±3 °C uniformity and normal load density; the exact time is always confirmed by attaching a thermocouple to the part.
| Metal thickness | Time for the part to reach target | Total oven time (assuming 10 min cure) |
|---|---|---|
| 0.8 – 1.5 mm sheet | 3 – 6 min | 15 – 20 min |
| 1.5 – 2 mm aluminium profile | 4 – 7 min | 16 – 22 min |
| 2 – 3 mm sheet / profile | 6 – 10 min | 20 – 25 min |
| 4 – 6 mm fabricated steel | 10 – 15 min | 25 – 32 min |
| 8 mm and above, castings, thick flanges | 15 – 25 min | 35 – 45 min |
The real message of that table: a mixed load is the hardest case. If a 1 mm sheet and an 8 mm flange hang together, you set the time for the thick part and the thin one over-cures in that time. The fix is either to sort loads by thickness or to define separate profiles for separate part families.
What do 16 curing profiles and PID control actually do?
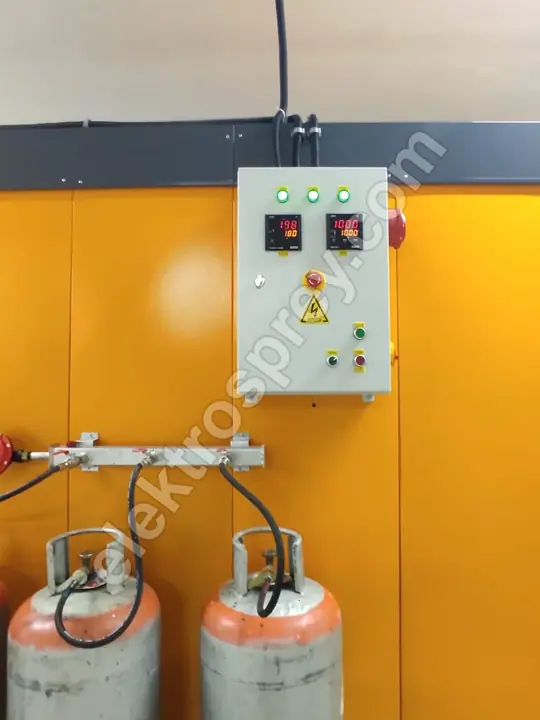
Our box type electric ovens work between 80 and 250 °C with PID control and a memory of 16 curing profiles.
PID control does not switch the elements fully on and off; it tapers power as the setpoint is approached. An oven running on a simple thermostat overshoots 8–10 °C, then drops below — the panel average can look correct while the part swings continuously between over- and under-cure. PID suppresses that oscillation, and that is what ±3 °C uniformity means on the time axis.
16 curing profiles reduce operator error. Each profile stores a heat-up ramp, a target temperature and a duration: one profile for white powder, another for metallics, another for heavy fabricated parts. The operator does not type in a temperature and a time; they select a profile. In shops running several powders and several thicknesses, that single step closes most colour-shift complaints.
Why is air circulation the real determinant of uniformity?
Heater power sets the temperature; air distribution sets whether that temperature is the same everywhere. You can double the heater capacity of a badly ducted oven and uniformity will not improve — the hot zone simply gets hotter.
Three things decide it:
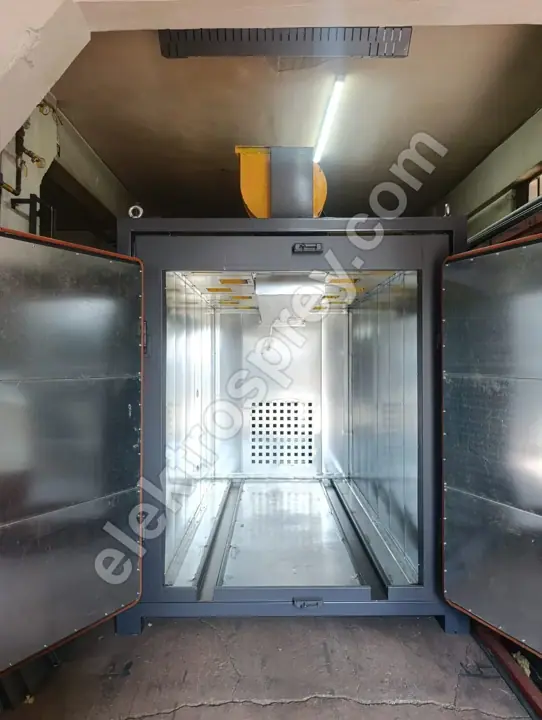
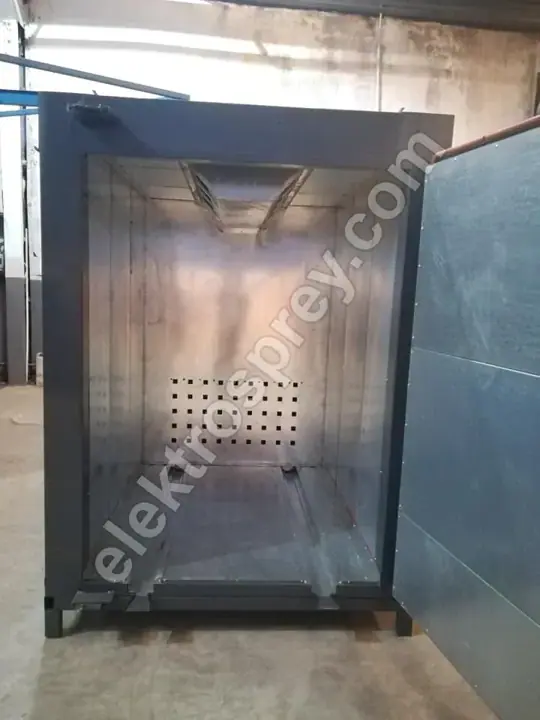
1. Fan placement and duct design. If air is blown in at one point and drawn out at one point, dead zones form inside the chamber. In our ovens air is supplied through ducts distributed along the chamber and collected from the opposite side; the aim is similar air velocity across every surface of the load. It also matters that no zone sits in the direct blast in front of the heater — parts there pick up extra radiant heat, and yellowing starts exactly there.
2. Load placement and shadowing. This part is on the user. Parts hung too close together shadow one another: air never reaches the inner row, the inner row heats late and under-cures. A large share of the "the oven is not uniform" complaints we investigate turn out to be overcrowded loading. Practical rule: leave at least one part-width of clearance between parts, stay 15–20 cm away from walls and ceiling, and hang large flat surfaces at a slight angle to the air flow rather than parallel to it.
3. Doors and sealing. Every door opening cools the front of the chamber. That is why plants on continuous flow prefer an top-loading oven or a tunnel pass-through instead of a door; in batch production, the door gasket and its closing pressure belong on the maintenance list.
How do insulation and an AISI 304 inner shell affect uniformity?
100 mm rock wool insulation does two jobs. The first is energy: heat that escapes is not recovered — we detail that side in powder coating oven energy consumption. The second, and the point here, is that wall loss destroys uniformity. With thin insulation the zone near the wall stays permanently cold, the controller drives the heaters harder to compensate, and the centre overheats. The result is under-cured parts on the outside and yellowed parts in the middle. Insulation thickness is not an energy line item; it is a quality line item.
An AISI 304 stainless inner shell keeps the surface from degrading over time. A painted or galvanised interior at 200 °C flakes, oxidises and roughens over the years; a rough surface changes the air flow, and shed particles land on freshly coated parts. A 304 shell preserves both the surface quality and the original character of the air flow. It is the item that looks expensive in the first quotation and is appreciated in the fifth year.
How is uniformity verified, and what should you ask for when buying?
Uniformity is a measured value, not a sentence in a catalogue. The verification method is this:
- Place thermocouples at at least 9 points in the empty chamber: four bottom corners, four top corners, one centre.
- Bring the oven to target temperature and let it stabilise.
- Log all points for at least 30 minutes after stabilisation. The difference between the hottest and coldest point is the uniformity.
- Repeat the same measurement with the oven loaded. Empty-chamber uniformity is easy; the loaded measurement is the real production condition.
- Also attach thermocouples to a few parts and plot the part temperature curve. Cure time is set from that curve, not from the number on the panel.
What to ask for when buying:
| Ask for | Why |
|---|---|
| Written uniformity figure and the number of measurement points | "±3 °C" only means something when you know across how many points |
| A loaded measurement record, or a commitment to run one at acceptance | An empty oven does not represent real production |
| Control type: PID plus number of profiles | Oscillation destroys uniformity on the time axis |
| Insulation thickness and material | Wall loss directly distorts distribution |
| Inner shell material | When the surface degrades, so does the air flow |
| A thermocouple port through the oven wall | So you can measure part temperature during production |
Insist on the last item: in an oven with no thermocouple pass-through in the wall, you can never measure part temperature. Leaving it in during manufacture is both easier and free compared with drilling one later.
Frequently asked questions
Why does ±3 °C uniformity matter so much?
Because powder cures on a time-temperature curve. With a 15 °C spread inside the chamber, the part in the cold zone falls below the curve (under-cure, weak adhesion) and the part in the hot zone rises above it (yellowing, brittleness). ±3 °C is the practical limit that keeps the whole load inside the same curve.
How big is the gap between part temperature and oven temperature?
It is not fixed; it depends on wall thickness and mass. A 1 mm sheet catches up with the oven air in 3–6 minutes, while a part over 8 mm thick can take 15–25 minutes. That is why cure time is calculated from a thermocouple curve on the part, not from the panel reading.
Does orange peel come from the oven?
Usually not. The first suspect for orange peel is film thickness — the kV/µA setting and gun distance on the booth side. The oven's share of the blame is powder reaching flow temperature too slowly; if the heat-up ramp is sluggish, the powder gels before it levels. Measure film thickness first, and look at the heat-up rate only if that is in range.
Will overloading the oven ruin uniformity?
Yes, and it is the single most common cause. Parts hung tightly shadow one another, air never reaches the inner rows, and those rows under-cure. Leave at least one part-width of clearance and stay 15–20 cm off walls and ceiling. The right way to raise capacity is to size the oven correctly, not to pack it harder.
How can I measure uniformity in my existing oven?
Place thermocouples at a minimum of 9 points (four bottom corners, four top corners, centre) and log for 30 minutes after stabilisation; the difference between hottest and coldest is your uniformity. Repeat it loaded. If the result is clearly outside ±3 °C, check the air ducts, the fan flow rate and the door gasket first.
How is uniformity achieved in a gas oven?
In our top-loading gas ovens the heat source is a burner, but distribution still comes from a fan and ducting. Air is distributed through a duct separated from the combustion zone so that no direct radiation from the flame reaches the parts. Choosing gas or electric is an energy-cost decision; in both ovens, uniformity is decided by air circulation and insulation.
Summary
A large share of coating defects begins not in the paint but in the temperature distribution. Work through it in order: is the defect clustered in one region of the load (oven) or scattered randomly (pre-treatment / booth)? Are you actually measuring part temperature, or reading the panel? Is your load shadowing the air flow?
On the oven side, four things are worth discussing and all four are measurable: ±3 °C uniformity, PID control with 16 profiles, 100 mm rock wool insulation, and an AISI 304 inner shell. Our ovens are built between 3 and 150 kW, sized to your largest part — there is no catalogue size. If you are planning the whole plant, the powder coating plant setup guide sets out the order of work; if you are ready to talk about the oven itself, send us the technical fields on the box type electric oven page.
Send us the dimensions of your largest part, its thickest section and your daily part count — we will work out the chamber volume, the required kW and a realistic cure time together.